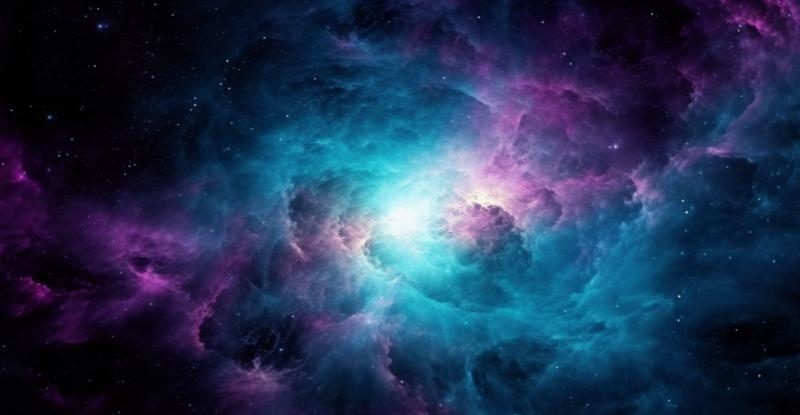
Mastering the Art of Astrophotography

Introduction: Why Astrophotography, You Ask?Ah, the stars. The celestial bodies that have mystified humanity since the dawn of, well, humanity. One could spend an eternity gazing up at the night sky, pondering the seemingly infinite expanse and contemplating the grand cosmic tango. Alas, our mortal existence is but a fleeting moment in the grand theater of the universe. So how can one capture the essence of this cosmic ballet within the confines of our ephemeral lives? The answer: astrophotography.
Astrophotography, the art of photographing the heavens above, offers more than just pretty images of twinkling lights. It's a crash course in astronomy, physics, and the technical aspects of photography. And trust me, it's worth attempting to tame the beast that is astrophotography, if for no other reason than to prove to your friends that you're a Renaissance man or woman with interests beyond the latest Netflix series and artisanal avocado toast.
Step 1: Gear Up and Prepare for Lift-offBefore you can set forth on your stargazing expedition, you'll need the proper tools. As the old saying goes, "NASA wasn't built in a day, and neither is your astrophotography kit." Here's a beginner's checklist:
- A DSLR camera (preferably one with a good ISO range)
- A fast, wide-angle lens (e.g., 14mm f/2.8)
- A sturdy tripod
- An intervalometer (if your camera doesn't have a built-in one)
- Extra batteries and memory cards
- A headlamp with a red light setting (to preserve your night vision)
- Warm clothing and sustenance (what good is an astrophotographer with frostbite or low blood sugar?)
Armed with your trusty gear, you're ready to venture forth into the great unknown (or, more likely, the middle of nowhere).
Step 2: Location, Location, LocationLight pollution is the bane of every astrophotographer's existence. To escape the tyranny of modern civilization's insatiable appetite for energy, you'll need to venture far from the city lights. A truly dark site can be the difference between a dazzling cosmic masterpiece and an underwhelming snapshot of a few faint dots.
Not sure where to find your dark sanctuary? Websites and apps like Dark Site Finder and Light Pollution Map can help you find the perfect location for your celestial communion.
Step 3: Timing is EverythingWhen it comes to astrophotography, the early bird doesn't always catch the worm. You'll need to plan your outings based on the phase of the moon, as a full moon can drown out the delicate dance of the stars. A new moon or a crescent moon is your best bet for optimal stargazing conditions.
Additionally, consult a star chart app or website to determine the best time to capture specific celestial events or objects, such as the Milky Way or a meteor shower. Remember, the universe waits for no one (except maybe Stephen Hawking).
Step 4: Perfecting Your TechniqueWith your gear in tow, darkness enveloping you, and the celestial stage set, it's time to perfect your astrophotography technique. This is where the magic happens, my friends. Follow these steps to ensure a successful cosmic capture:
- Mount your camera on the tripod and set it to manual mode.
- Adjust your lens to its widest aperture (e.g., f/2.8).
- Set your ISO to a high value (e.g., 3200) to start. You may need to adjust it based on your camera's noise performance.
- Manually focus on the stars by using the live view feature and zooming in on a bright star. Adjust the focus until the star is a sharp point of light.
- Set your shutter speed using the "500 Rule" – divide 500 by your lens's focal length (e.g., 14mm) to determine the maximum shutter speed before star trails occur (e.g., 500/14 = ~35 seconds).
- Use your intervalometer or built-in self-timer to minimize camera shake during the exposure.
- Experiment with different compositions, and don't be afraid to include earthly elements, such as trees or mountains, to provide context and scale.
Step 5: Post-processing: From Ordinary to ExtraordinaryFor better or worse, astrophotography and post-processing go hand in hand. Photoshop and Lightroom are your friends here, and there are myriad tutorials available to guide you through the process. From adjusting exposure and color balance to stacking multiple exposures for noise reduction and enhanced detail, post-processing is where your celestial masterpieces truly come to life.
Conclusion: The Cosmos is Your OysterWith your newfound astrophotography prowess, the cosmos is truly your oyster. Embrace the challenge, experiment with your technique, and marvel at the wonders of the universe immortalized in your images. And remember, when you're sharing your breathtaking captures with friends and family, be sure to casually mention that you've become something of a Renaissance man or woman, humbly conquering the realms of astronomy, physics, and photography. You've earned it.
|
|


